Today I did the last bits of trimming gluing the last few pieces of vinyl down.
Then I rivited on the quaterlights and fitted the rubber seals.
Next it was time to fit the reas screen, after a few starter attempts I eventually figured out the best way using some cord to ease the rubber over the lip.
Now it is ready to have its plastic chrome finisher fitted
I warmed it up in hot water to make it more pliable.
All done
All the remains now is to open up the holes on the rear deck and place it on the car.
With the car jacked up on both sides and some gentle persuasion of the windscreen frame with my foot it is at last fully attached.
Monday, October 3, 2011
Saturday, October 1, 2011
Headlining
Been poorly this week, so nothing at all done until this afternoon.
Despite still feeling unwell, I just had to make some progress.
Being a tight arse, I again opted for the cheapo option of making my own.
Cost of pre-made - £70
Cost of self made - £30 plus the fun of actually doing it.
The first task was to unpick the old one into its seperates.
.
I then drew around these on the new cloth then cut them all out
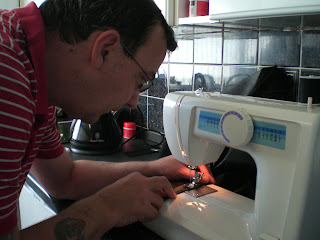
Here is the action shot ^.^
Headlining in place, I added the front rubber
Then added the side rubbers.
Then I killed some glue waiting time by cleaning up the quaterlights.
Before
And after
Subscribe to:
Comments (Atom)


